Planning to go in for artificial gel nails? Read this NailArtMag article for a complete information about these nails, their types, ways to apply gel to nails, the advantages, and disadvantages.


Every woman desires to have beautiful and well-groomed hands. And what better way to beautify one’s hands than with long, shapely, well painted fingernails. These days, when women are already under a lot of stress, trying to balance out both their personal and professional lives, caring for and maintaining natural long nails, seems next to impossible. This is where artificial nails, including the gel ones come handy. Let us learn more about gel nails, a kind of artificial nails, by knowing what they are made of, their types, how they can be applied and what advantages or disadvantages they have over other artificial nails.
Gel nails are perhaps most similar to natural nails, in appearance and texture. They are chiefly made from two ingredients, namely, polymer powder and monomer liquid. When these two ingredients react, it results in the formation of polymer strands. These polymer strands are then dried to make a hard resin, which bears great resemblance to a fingernail. Gel nails also include another ingredient, namely oligomer, which makes them very flexible and natural like.
Gel Nail Designs
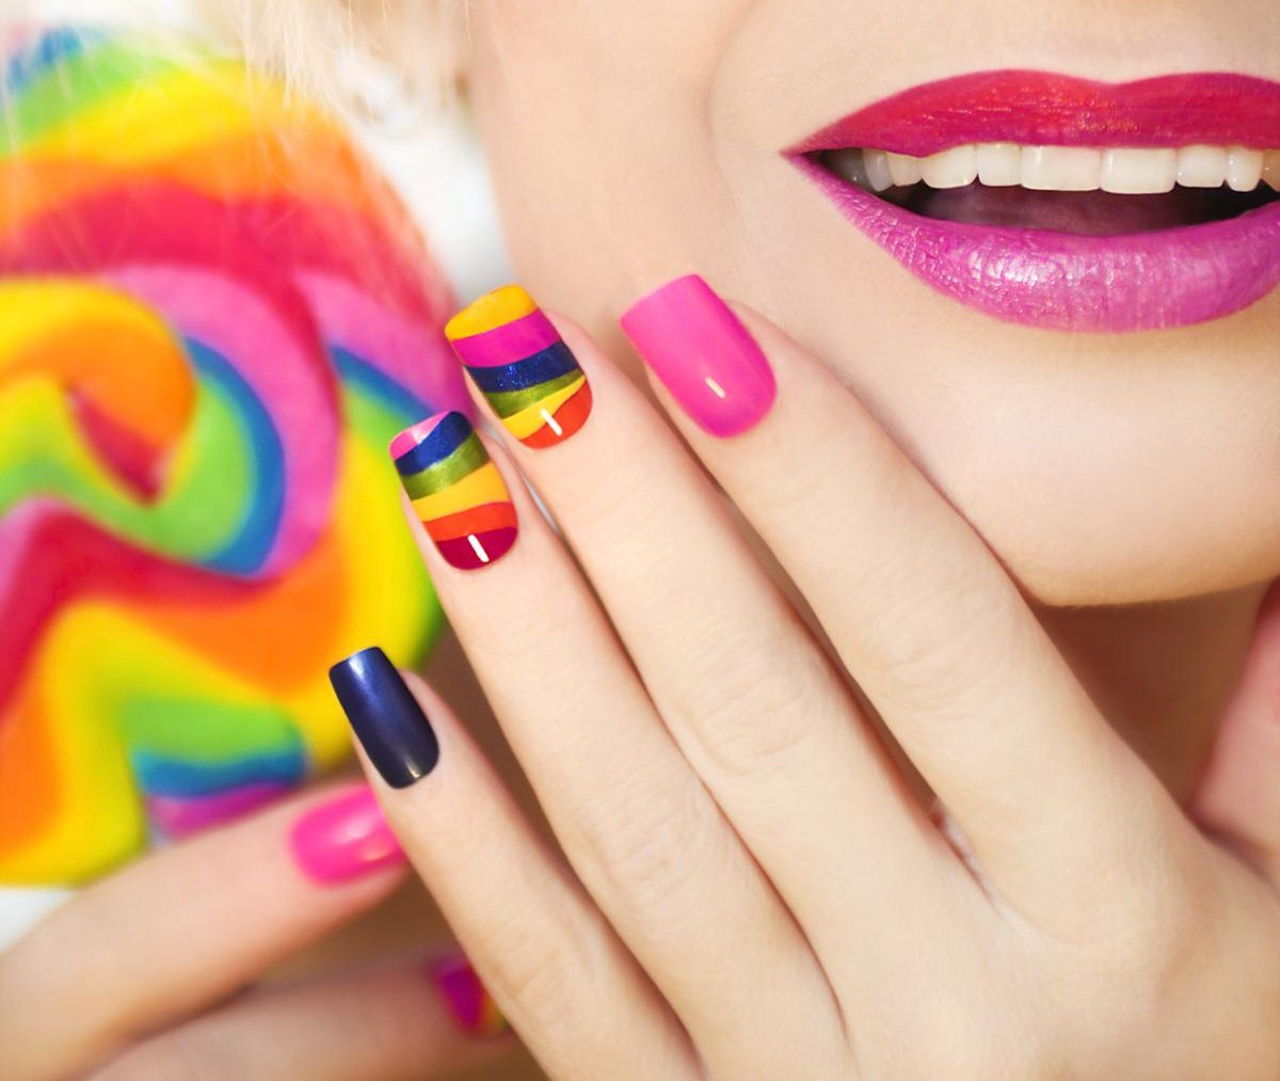
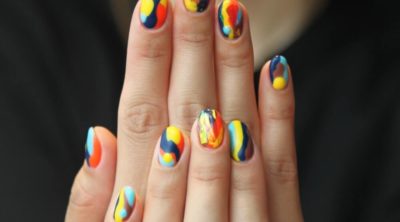
Just as acrylic nails can be given any shape and color, similarly gel nails can be painted and styled in whatever way a person wants. They can be worn long, medium, or short, depending upon one’s liking. They can be given an oval, square, rounded, stiletto, or a squoval shape depending upon what suits the hand. Gel nail designs can vary from being sober, a la French nails, or they can be simply outrageous, by painting nails in bold and black colors.

Oval-shaped Gel Nail Design

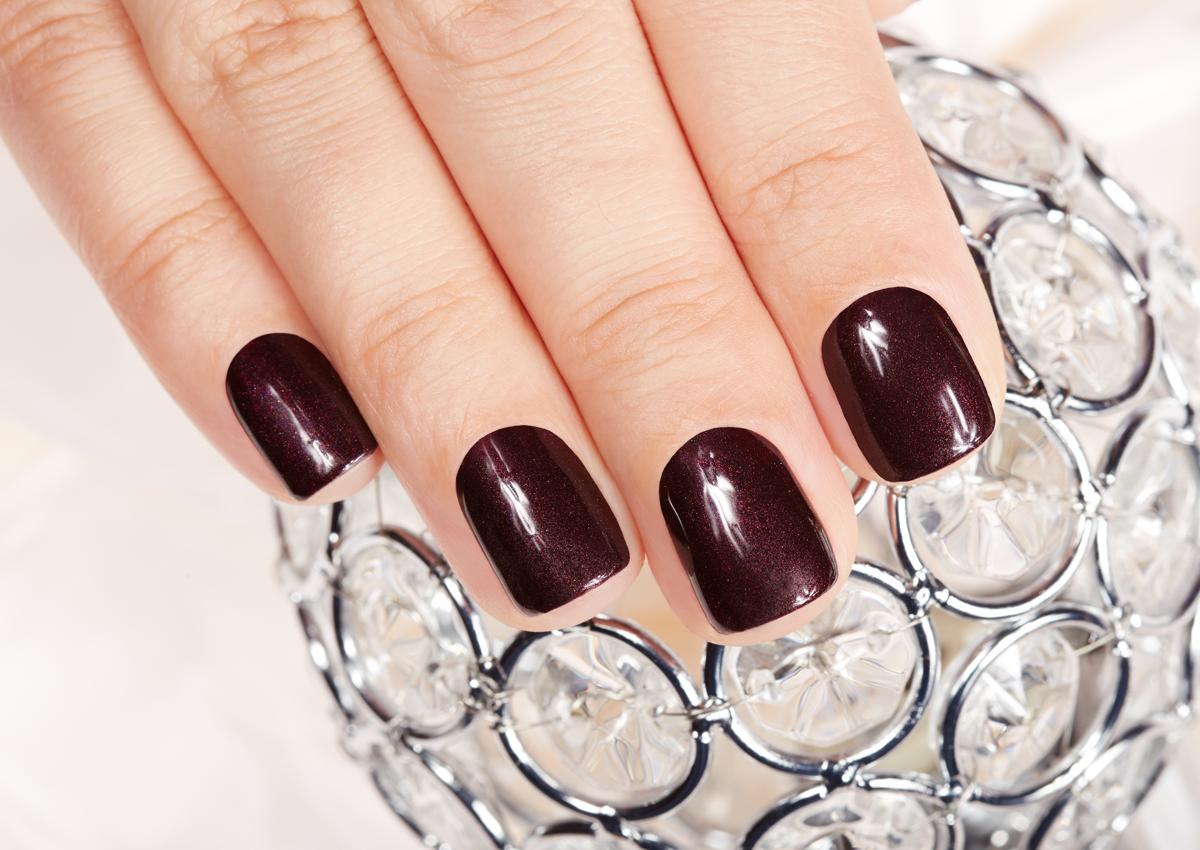
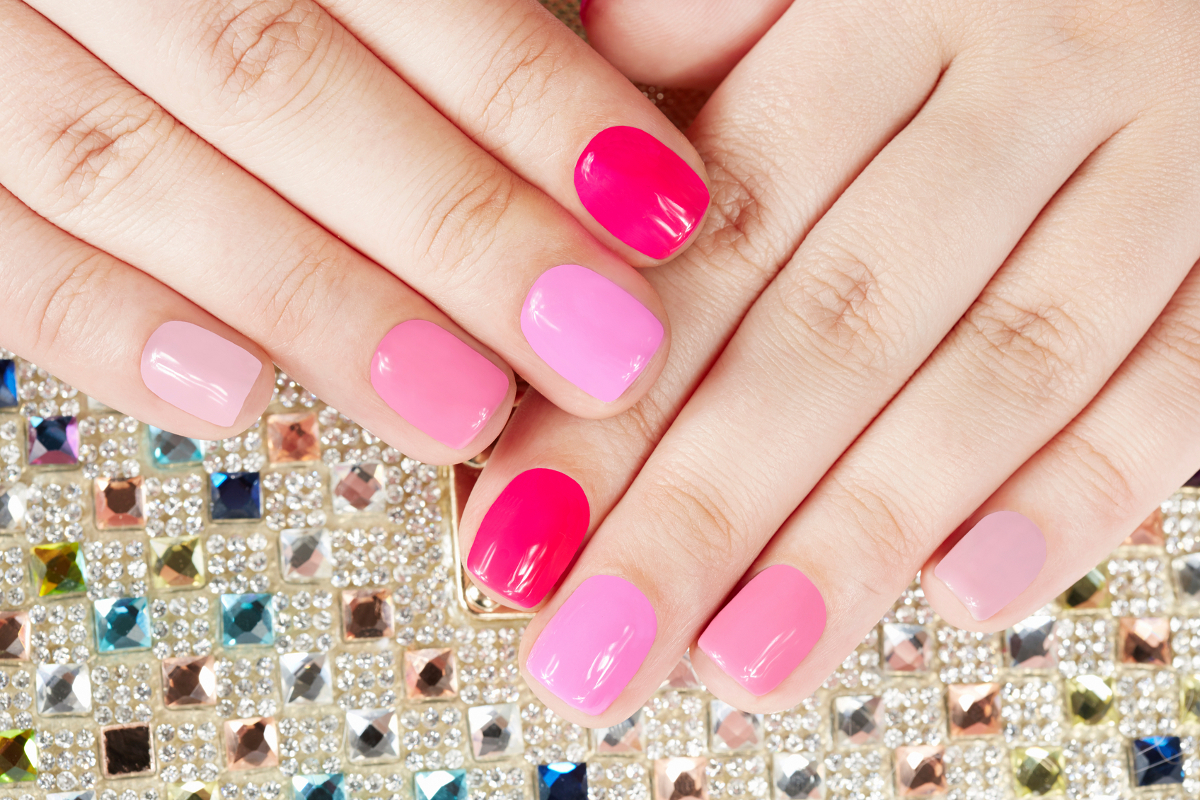
Rounded Gel Nail Design

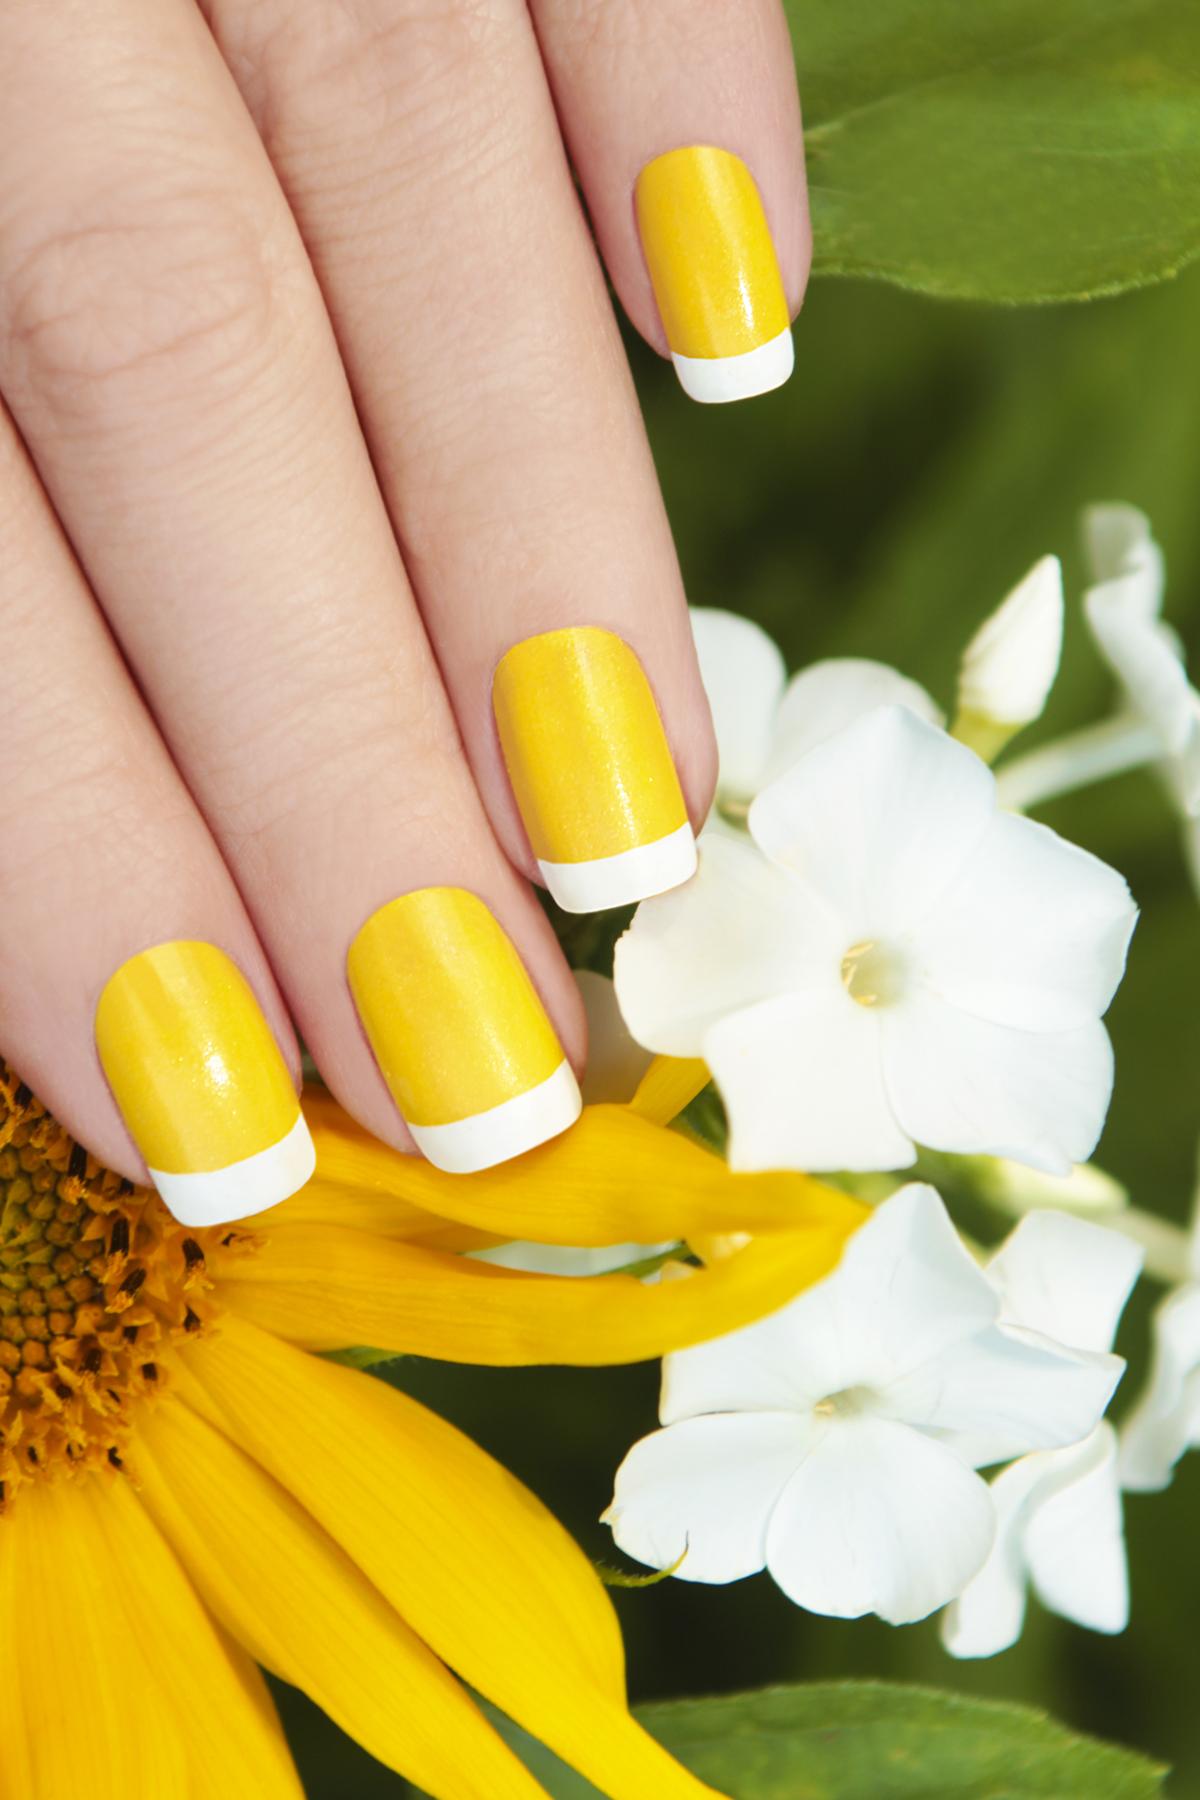
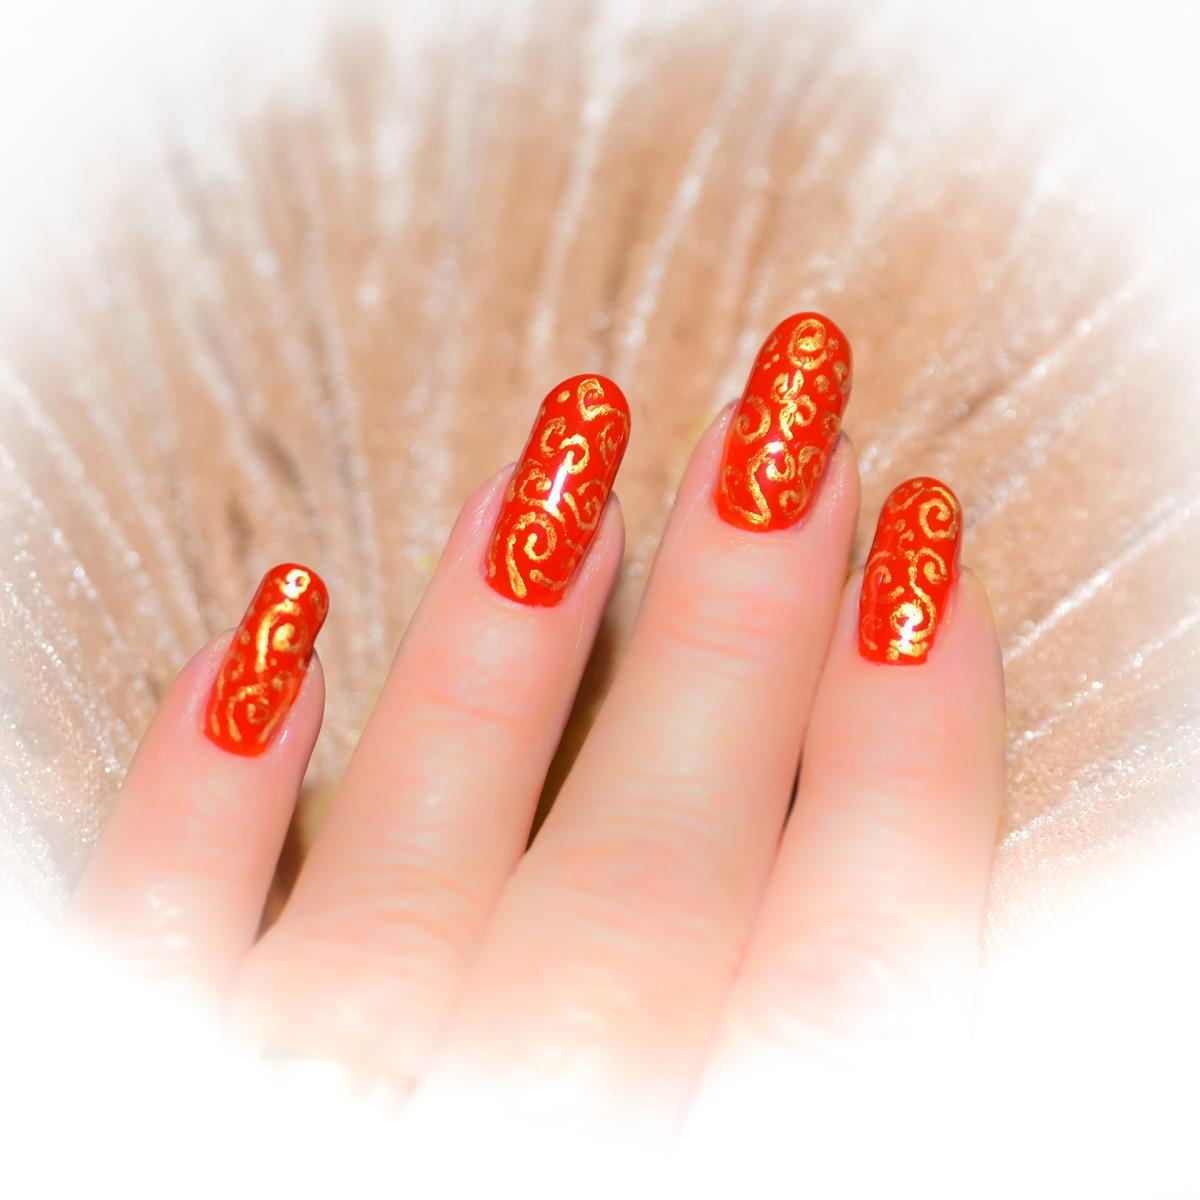
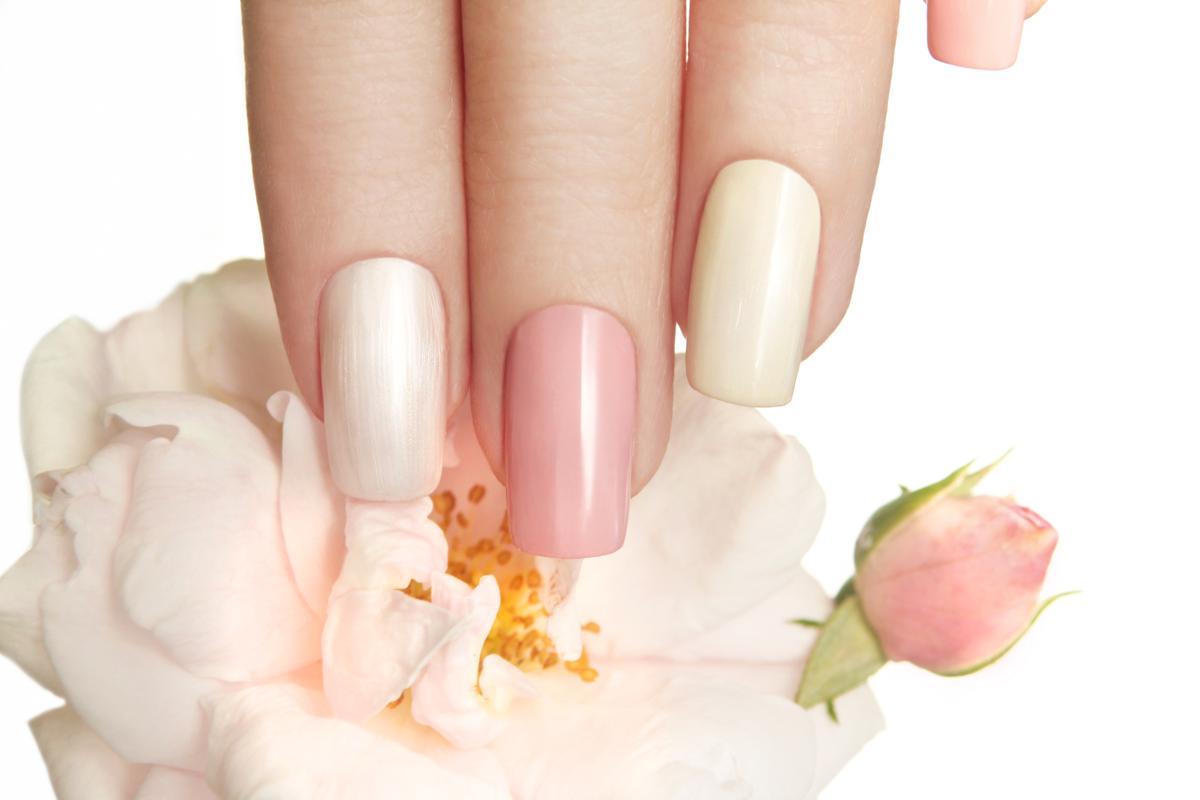
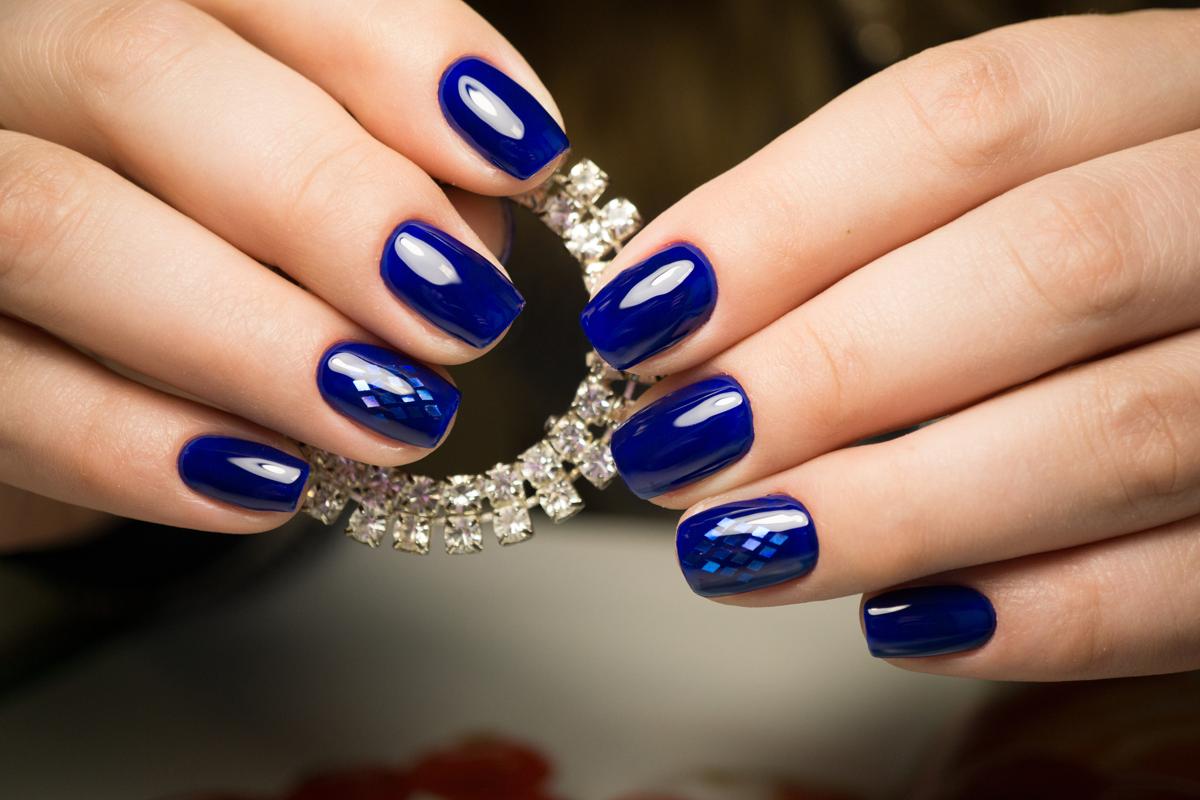
Square-shaped Gel Nail Design

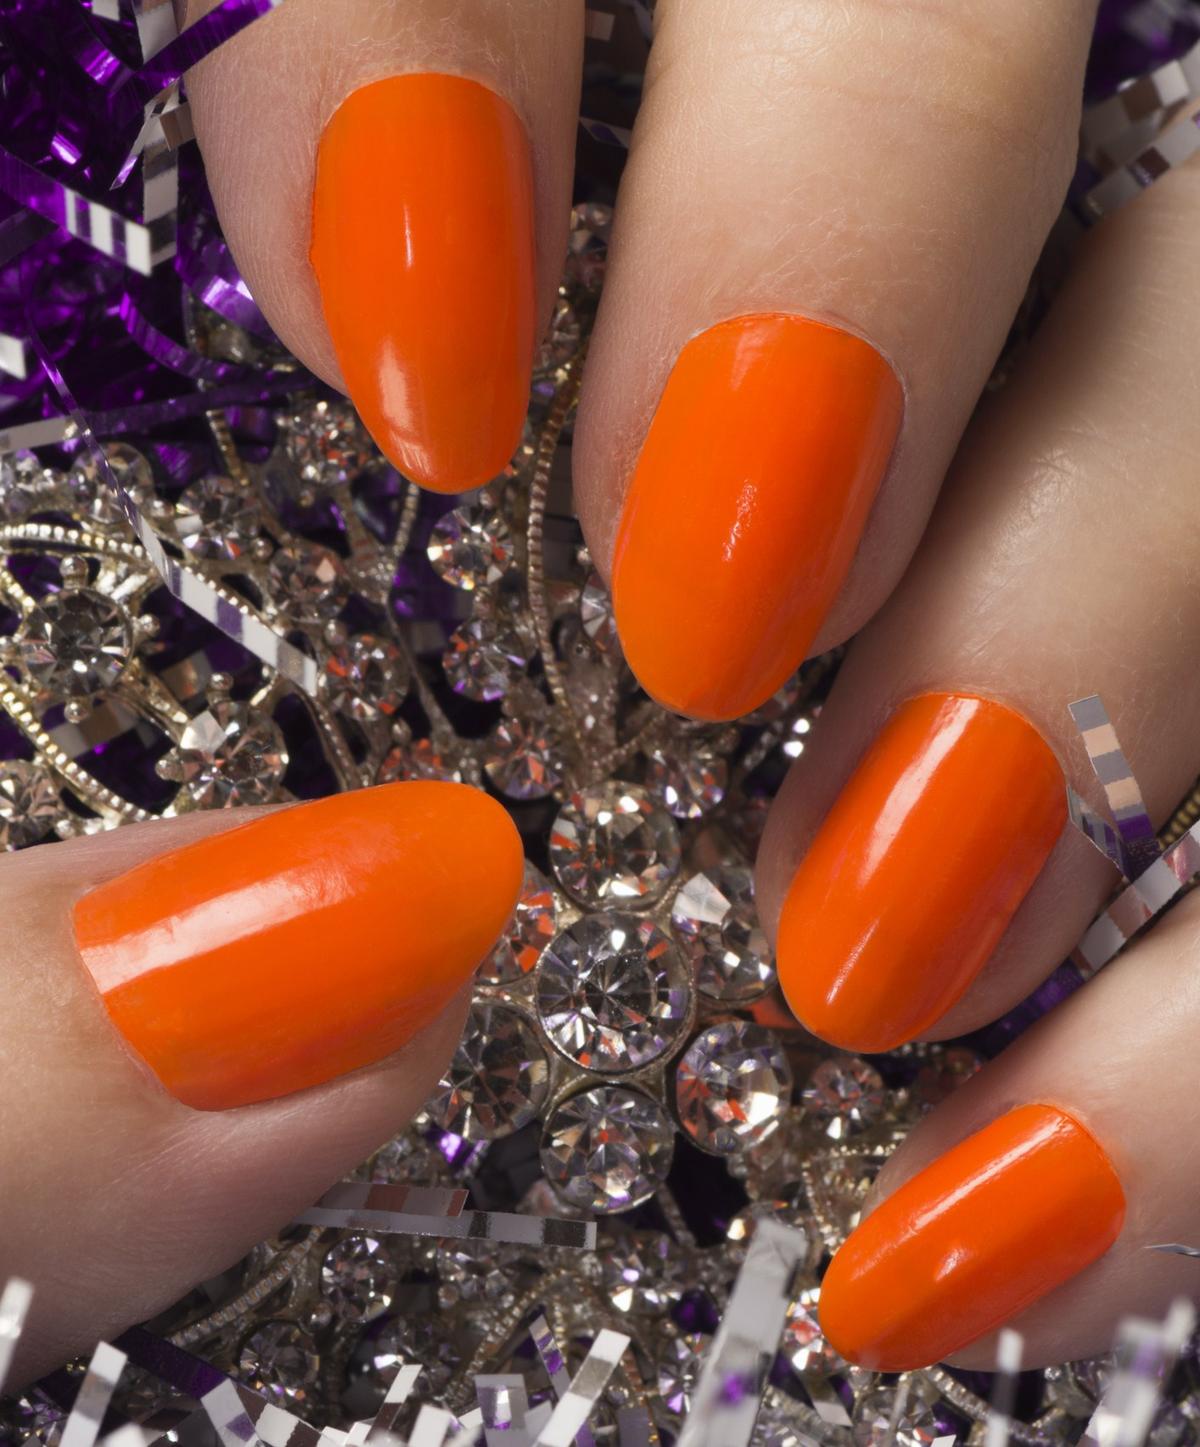
Squoval-shaped Gel Nail Design

Stiletto Shaped Gel Nail Design
Types of Gel Nails
Gel nails come in two varieties, namely light cured and no light gel nails. To get the light cured ones, the gel is applied on the nails and then kept under ultraviolet light for about two minutes, till it gets cured and hardened. To apply (no light) gel nails at home, a gel activator is first of all brushed on the nails, and then the gel is applied on top. The ‘no light’ ones do not require the ultraviolet light equipment, and hence with a little practice, can be cured at home itself.
Advantages and Disadvantages
The best thing about gel nails is that they look almost as real as the natural nails. They are flexible, thin, and have a shiny appearance. They are pretty safe too, and even pregnant women can sport them.
One of the biggest problems is, as compared to acrylic nails, they break very easily. Also, the paint on the gel nails does not remain for very long, and hence, they need to be painted very frequently. Lastly, if the nails break, there is no way that they can be fixed at home. For filing or for gel nail removal, one has to take professional services of a beauty salon.
Gel nails make the hands of a woman look very beautiful. They are much easier to maintain than natural nails and look pretty much the same. If you are worried about the costs, then let me tell you that though the initial cost of the light cured ones will be high, the fills that are required every two to three weeks will not cost much. Plus, if you look at the advantage of having light cured gel nails, i.e. they do not break as easily as the natural nails, are flexible, and look great. So, what are you waiting for? Get yourself gel nails today, wear your favorite designs on them, and swank your trendy nails in style.