Knowing how to do acrylic nails at home allows you to get those beautiful manicured long nails at the comfort of your own home. Continue reading to know how you can do beautiful acrylic nails yourself, at home.

Well-groomed hands and nails are so pretty and elegant. However, growing your nails can be a time-consuming, sometimes impossible task for all those women who either have poor nail growth or are prone to biting them off during times of stress. Stronger than the natural nails, acrylic nails are a boon for women who want to grow out their nails and yet due to brittleness and poor nail growth are unable to attain that perfect nail length. Moreover, if you love having those fancy nail art designs, then acrylic nails are a perfect choice for you.
The only problem with getting those pretty acrylic nails at a salon is that getting it done and then maintaining it in the long run is quite a time-consuming task, not to forget, extremely expensive as well. Acrylic nails done at home rids you of the hassles of going to the salon every two weeks. Moreover, with easily available acrylic nail kits, getting these nails at home is quite easy.
Step-by-Step Tutorial for Acrylic Nails
With a bit of practice and a certain degree of patience, applying and removing acrylic nails is simple. Before we understand the process of applying artificial nails, let us look at what acrylic nails really are. Acrylic nails are made of a liquid and a powder. Mixed together, they form a solution of thick consistency that can be applied to natural nails. Here is a step-by-step guide that helps you do acrylic nails all by yourself at home.
What you Need
- Acrylic nail tips
- Buffer
- Nail brush
- Liquid acrylic
- Powder acrylic
- Acrylic clippers
- Adhesive
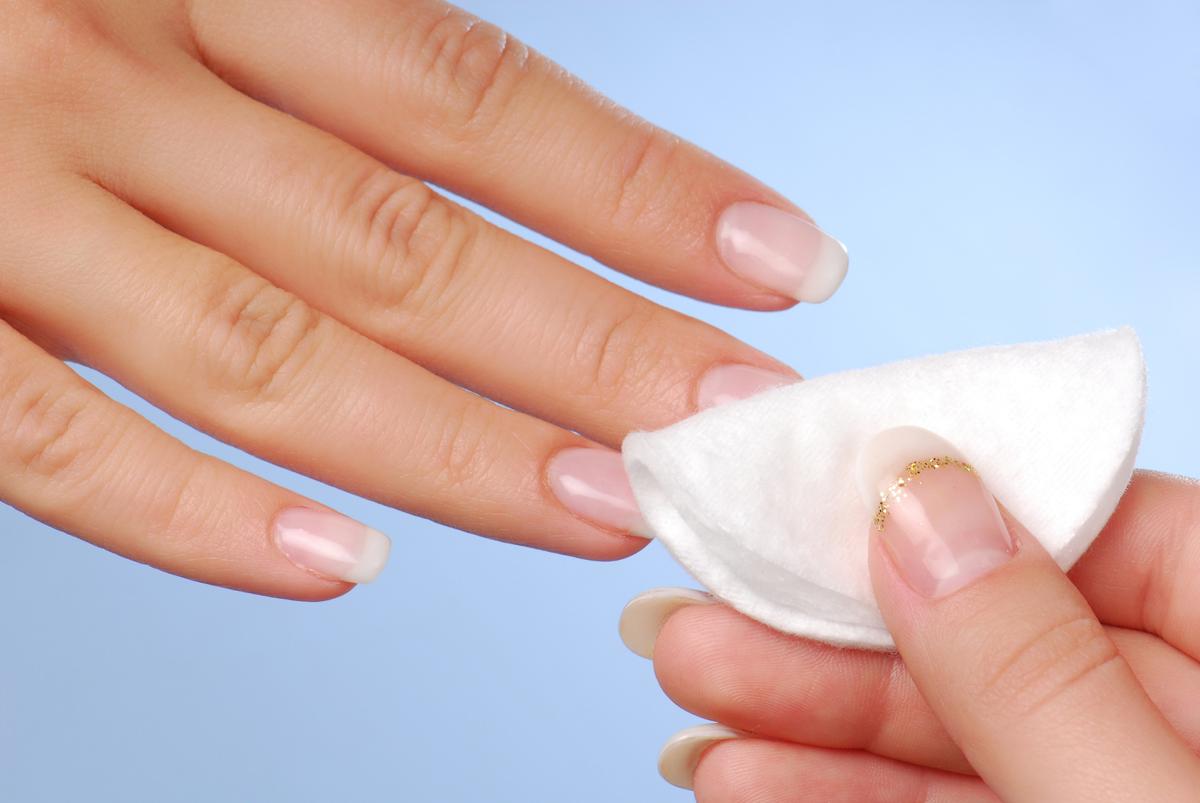
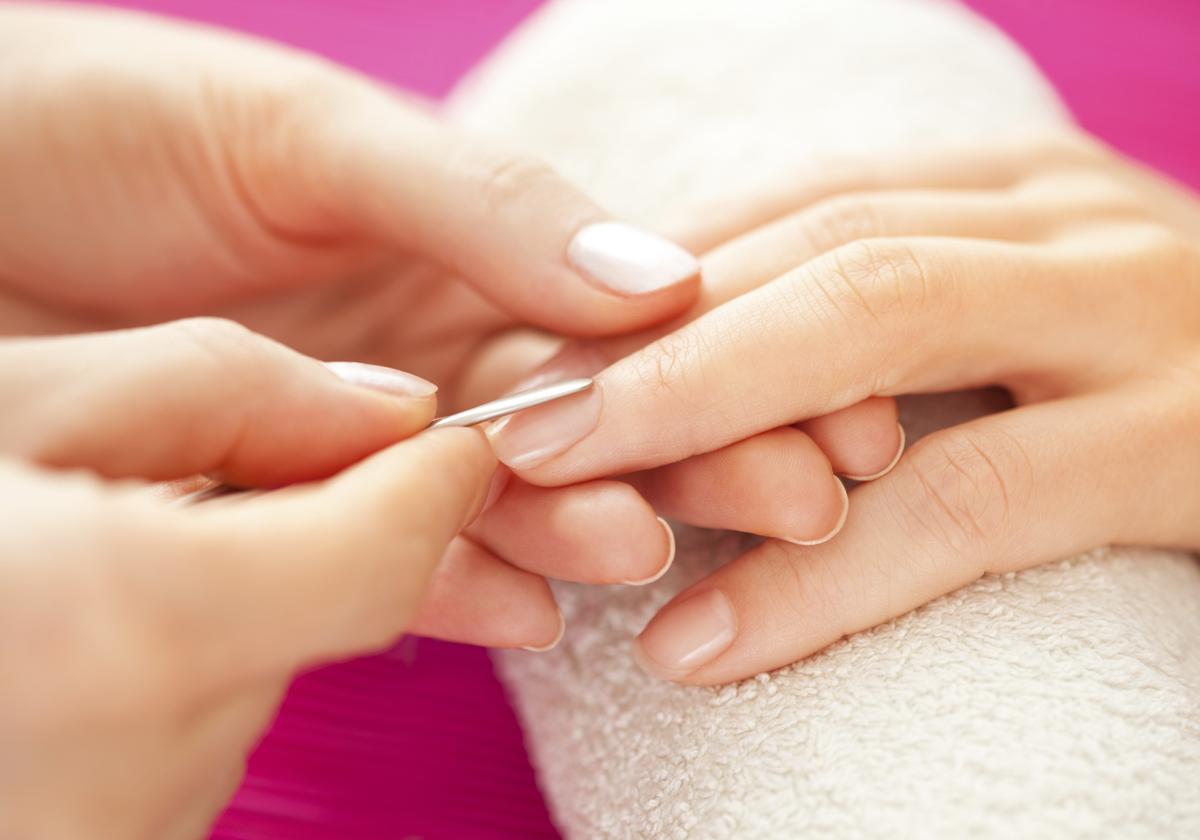
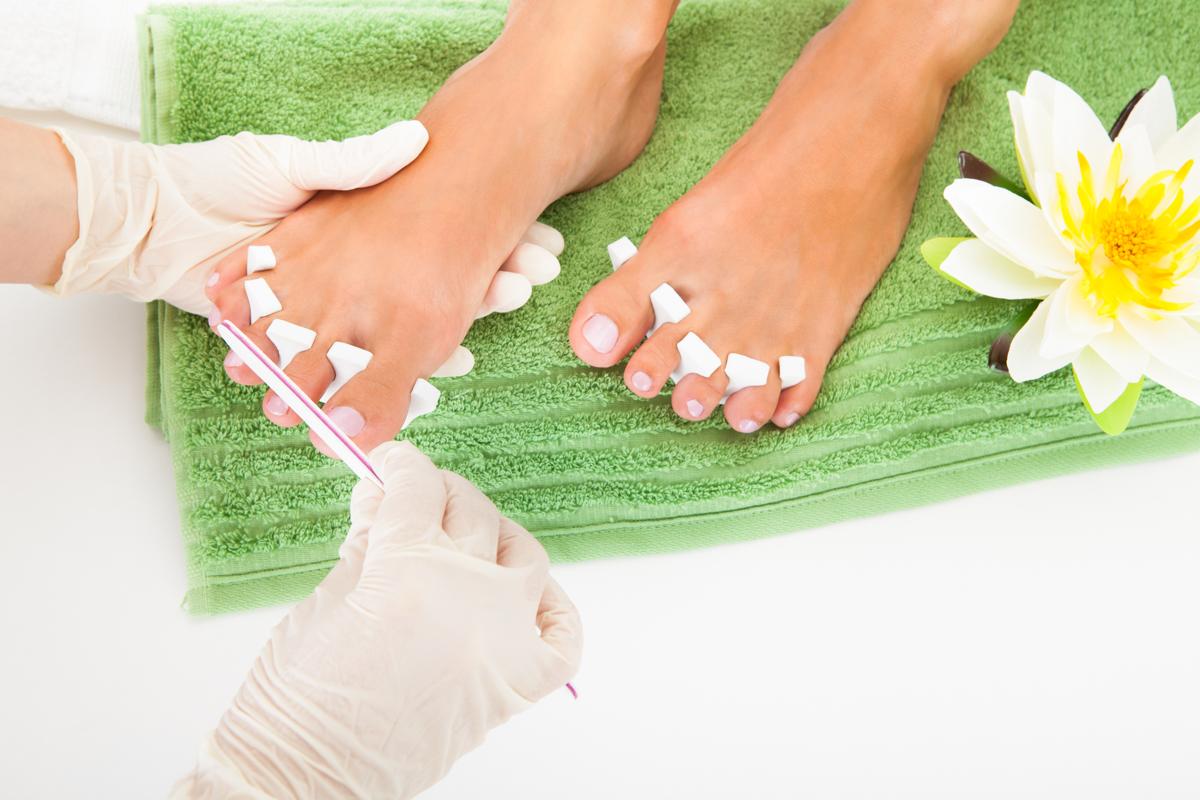
Clean your nails: Before you can apply the acrylic nails, you need to make sure that the nail bed is clean and dry. You first need to remove any existing nail polish. Using a cuticle pusher, push back the cuticles. Remove the dead cuticle debris which tend to accumulate around the nail edges with the cuticle nipper. Experts also recommend buffing up the nails to ease the acrylic nail attachment. Once the nail beds are dry and clean, attaching the tips is easy.
Selecting the Nail Tips: While some people want to attach the acrylic nails to strengthen the natural nail, others are looking to attain the length. For those wanting to strengthen their nails, the powder and liquid can be applied directly. People who want to opt for length need to choose nail tips that match the width and shape of the natural nails.
Attaching Acrylic Nails: Once the nails are dry and clean, dab some adhesive on the tips and then gently place the acrylic nails on top. When applying the adhesive to the nail tips, make sure that the ‘C’ curve of the tip is a perfect fit to the ‘C’ curve of the natural nail. Now hold the nail tips at a forty-five degree angle and slide the tip forward until the natural edges fit the nail tips. Follow this up by dipping the nail brush in the liquid acrylic, and then drop in a brush into the powder. Apply the acrylic onto the nails using the brush, allowing it to spread evenly. Work quickly up and blend the two nails seamlessly.
Filing and Buffing: Once the acrylic nails are in place, file and buff up your artificial nails to get it into the shape that you want. This will help remove any of the debris that might be left behind.
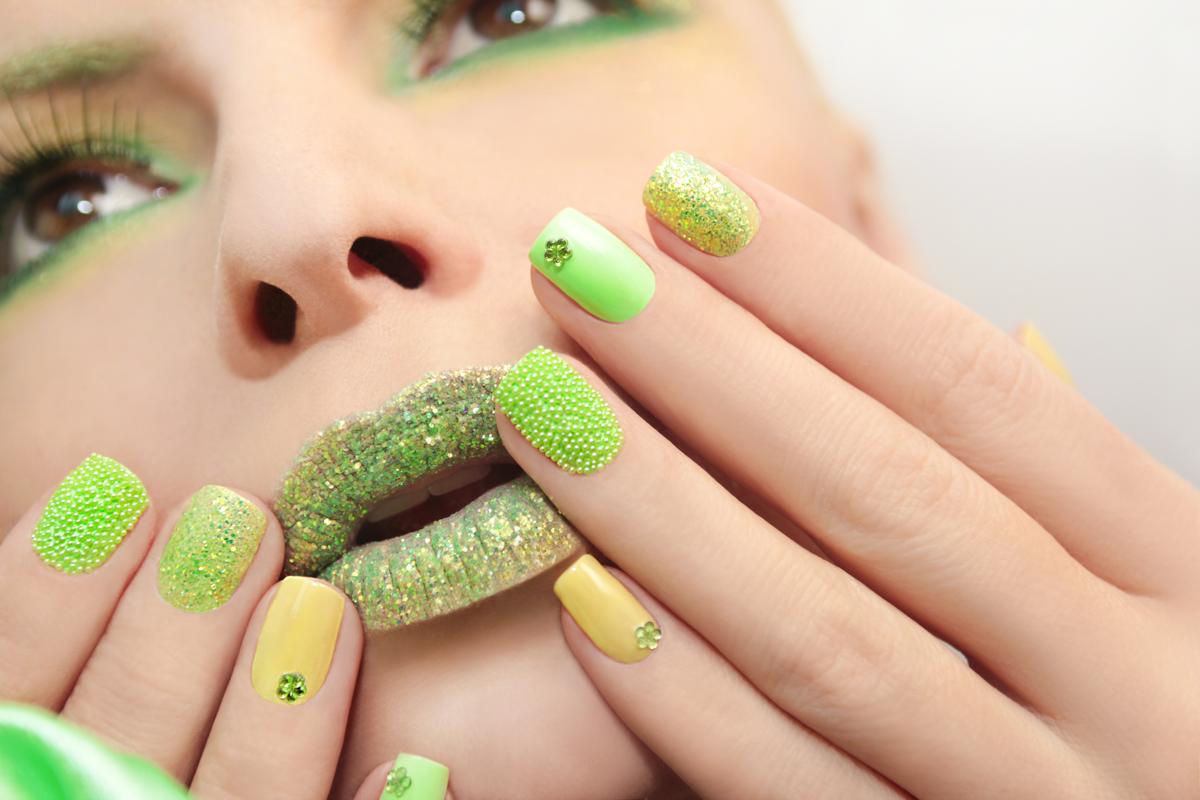
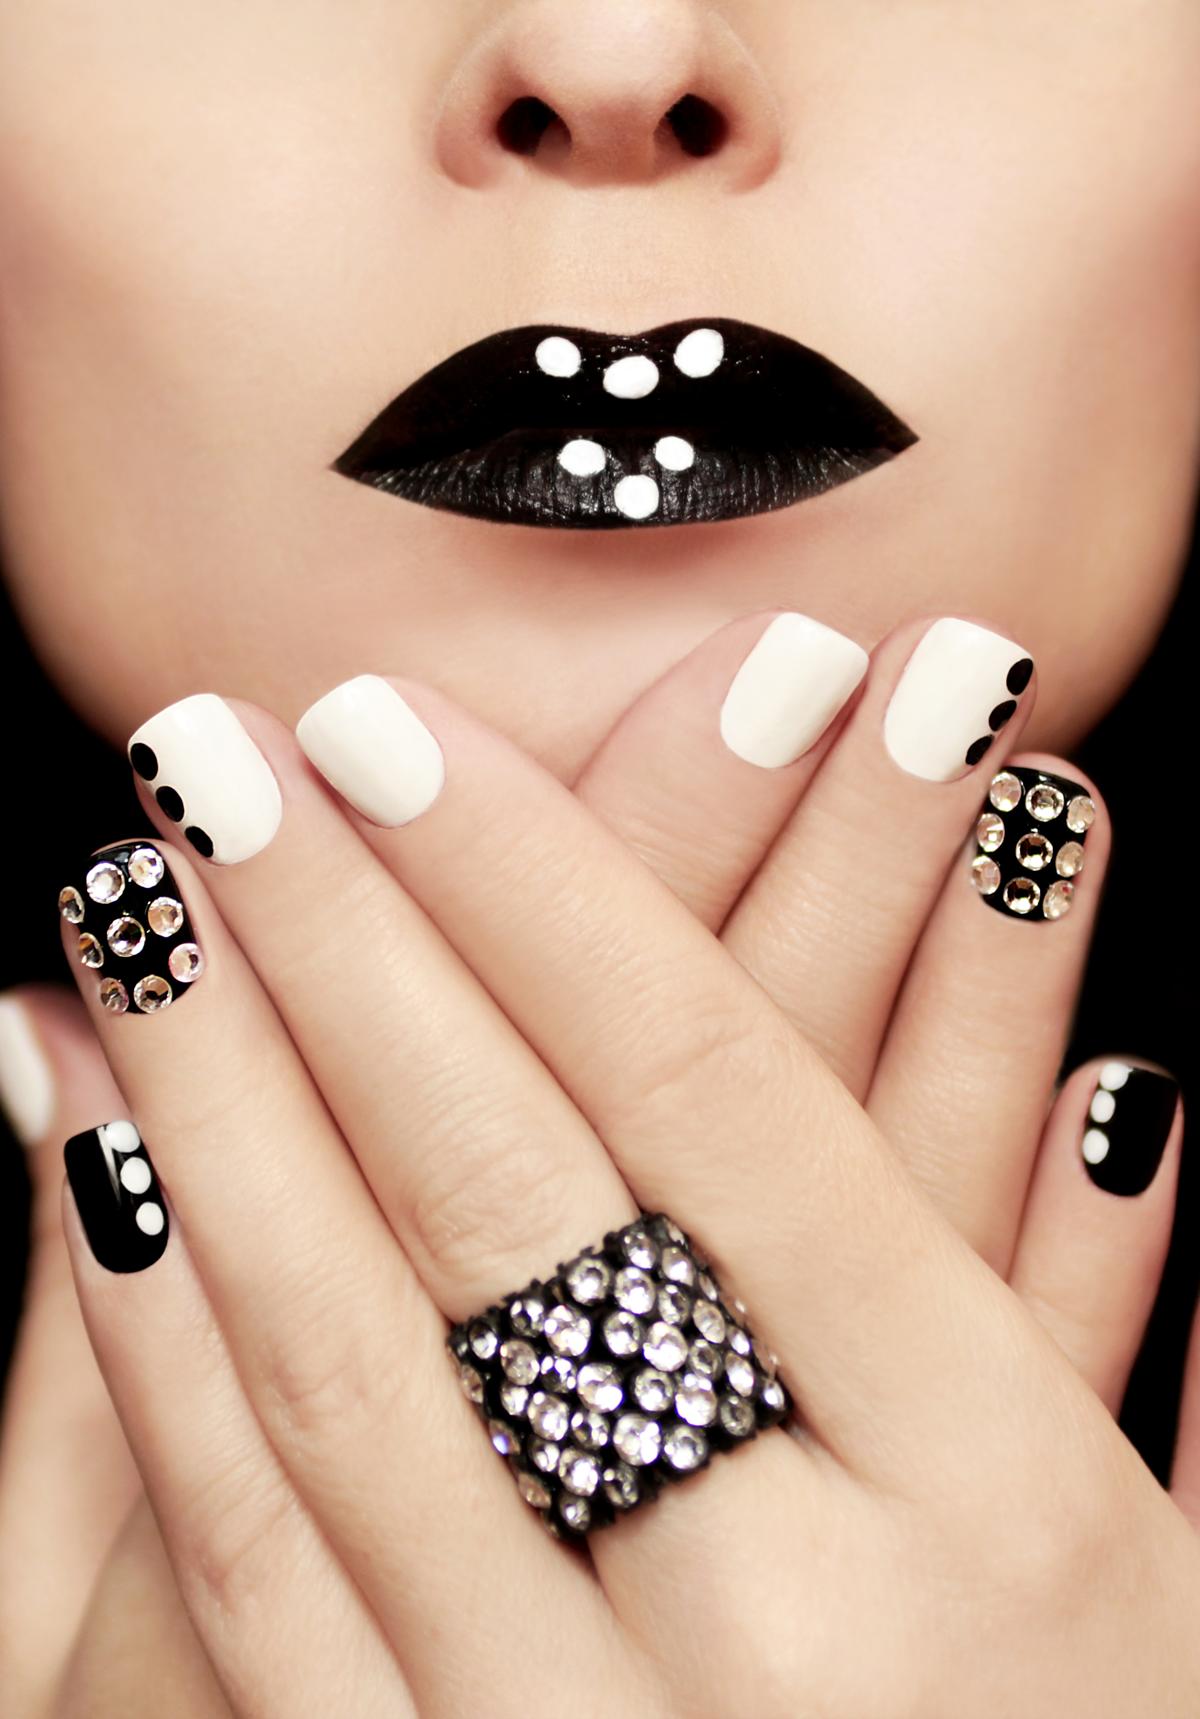
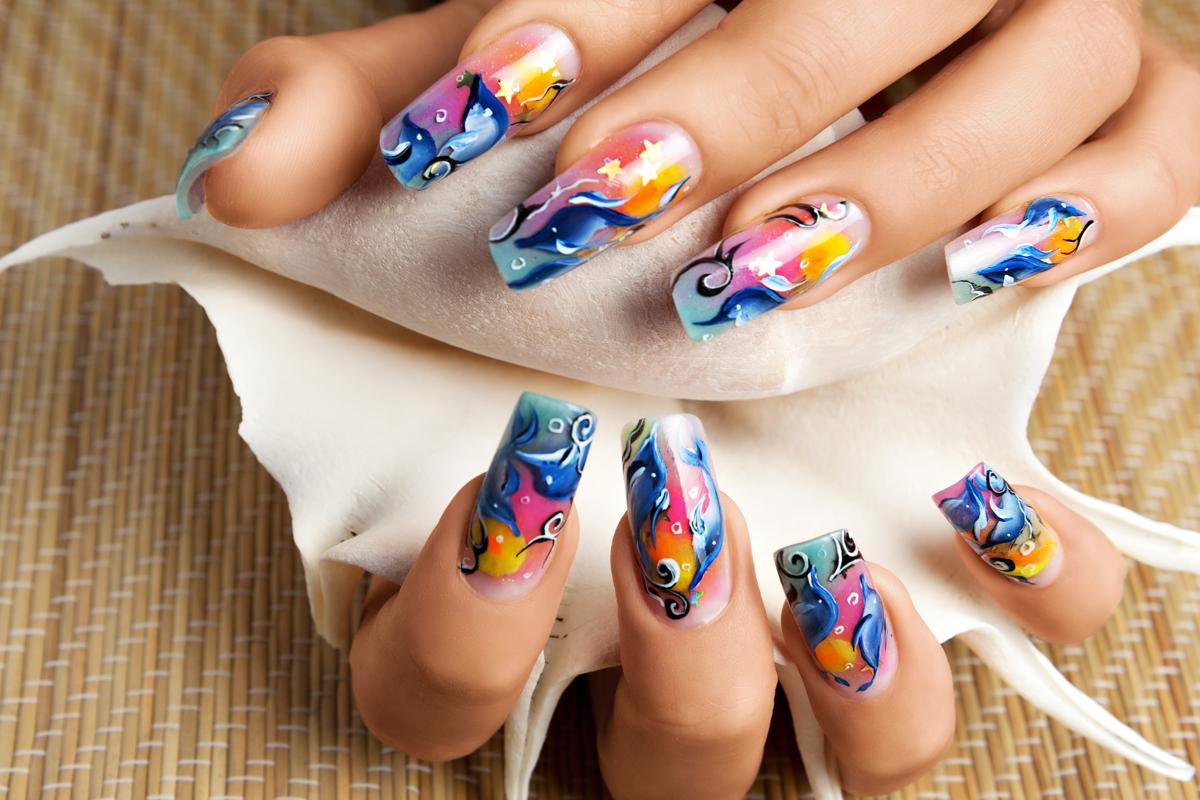
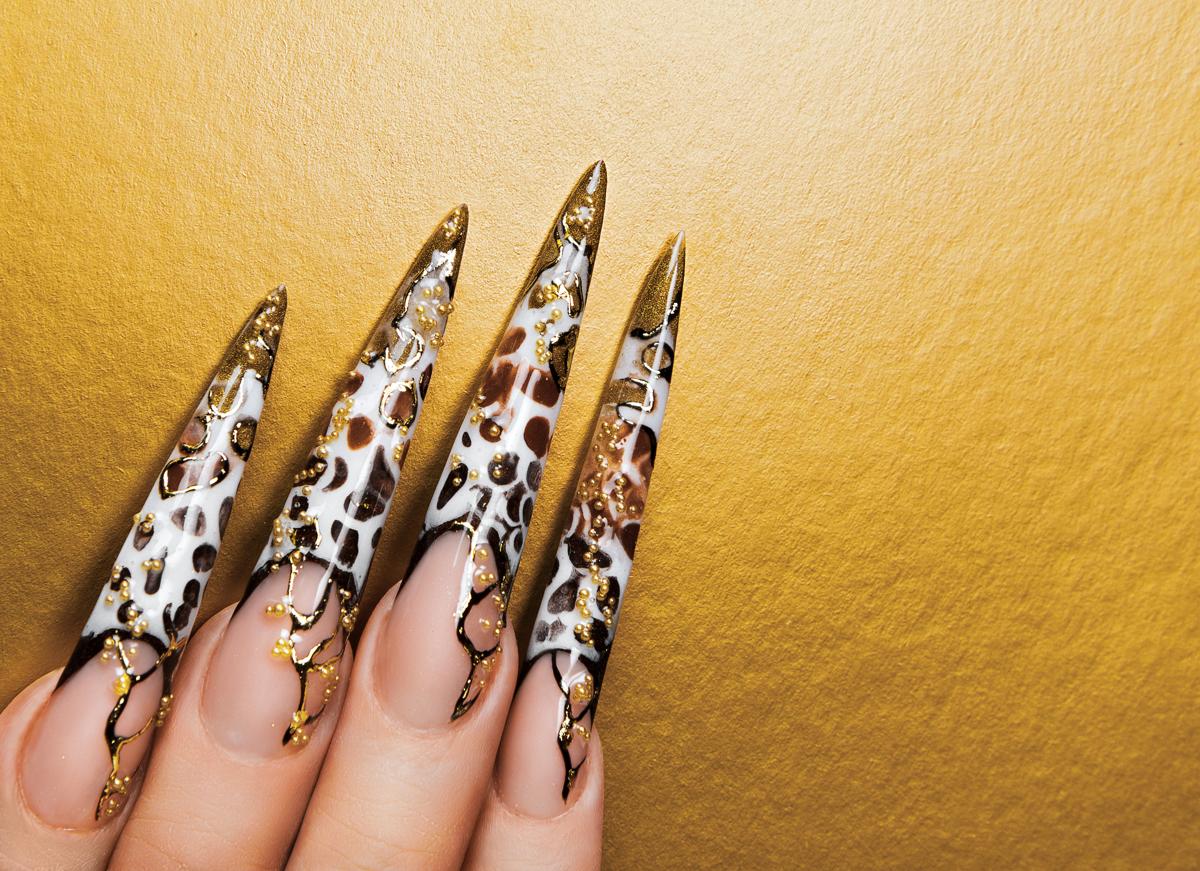
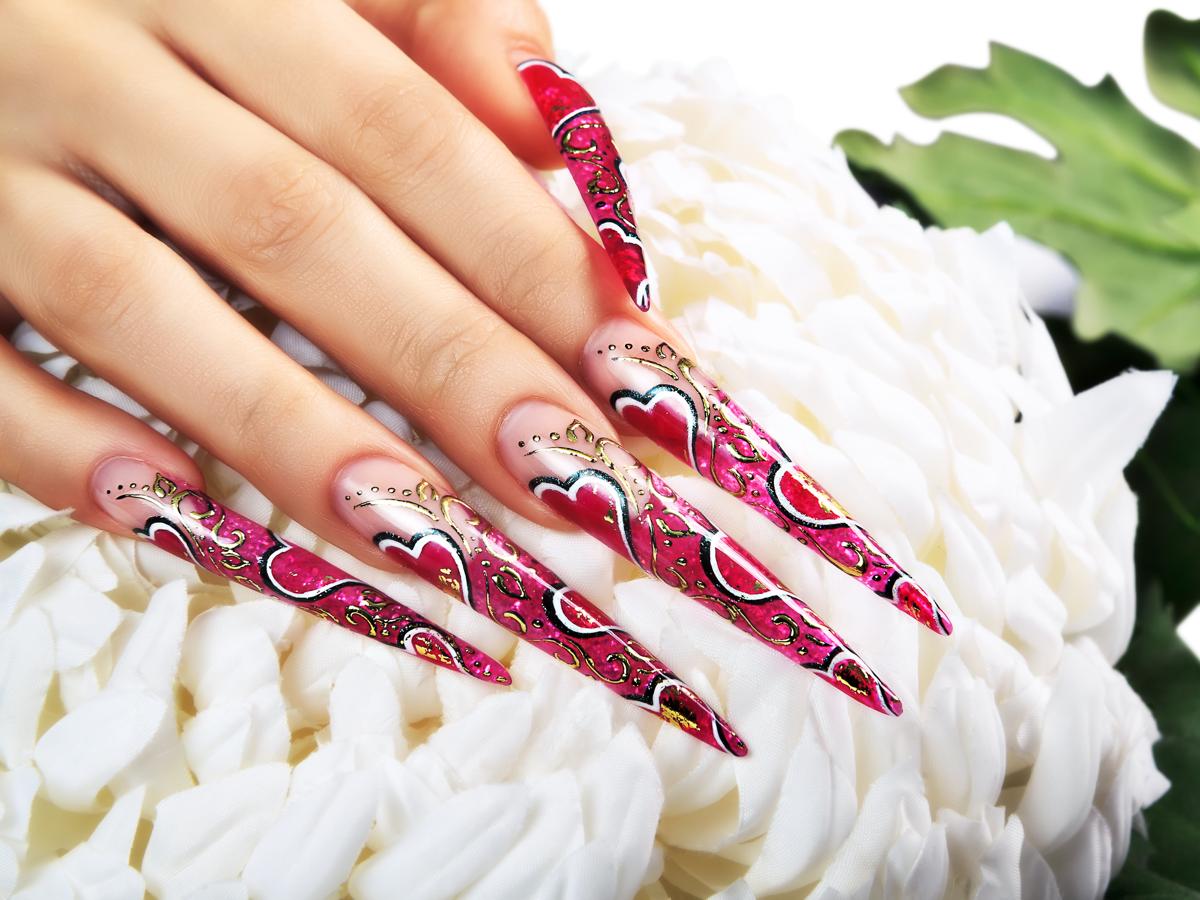
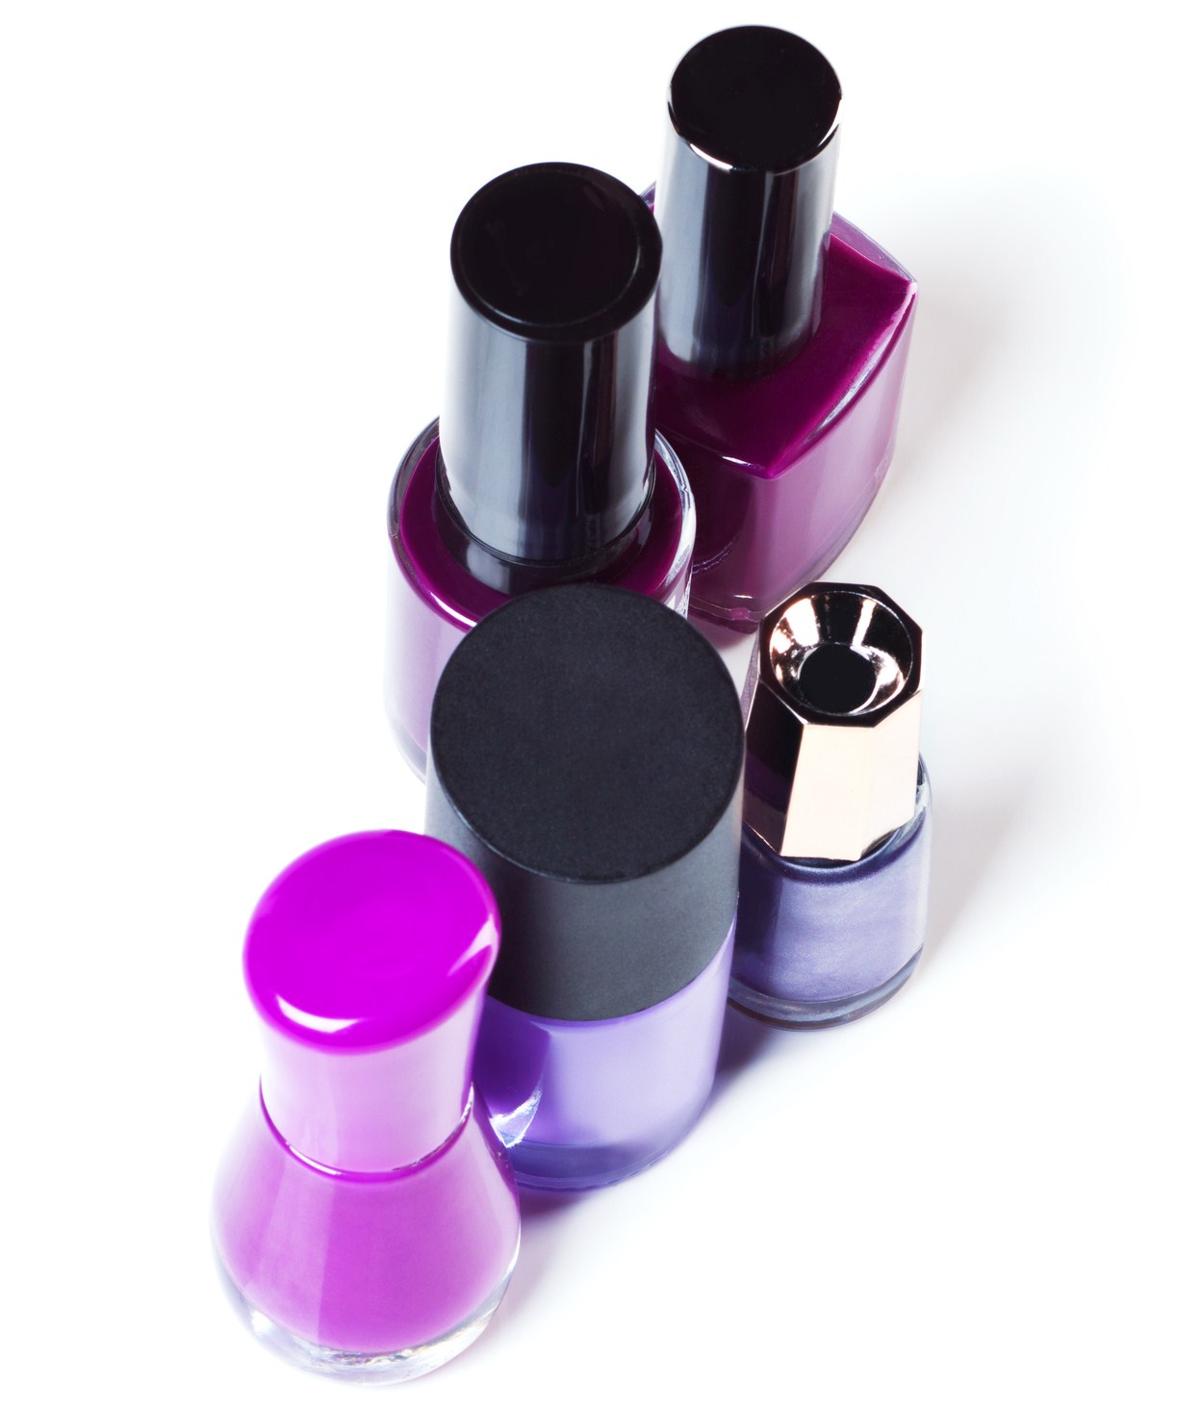
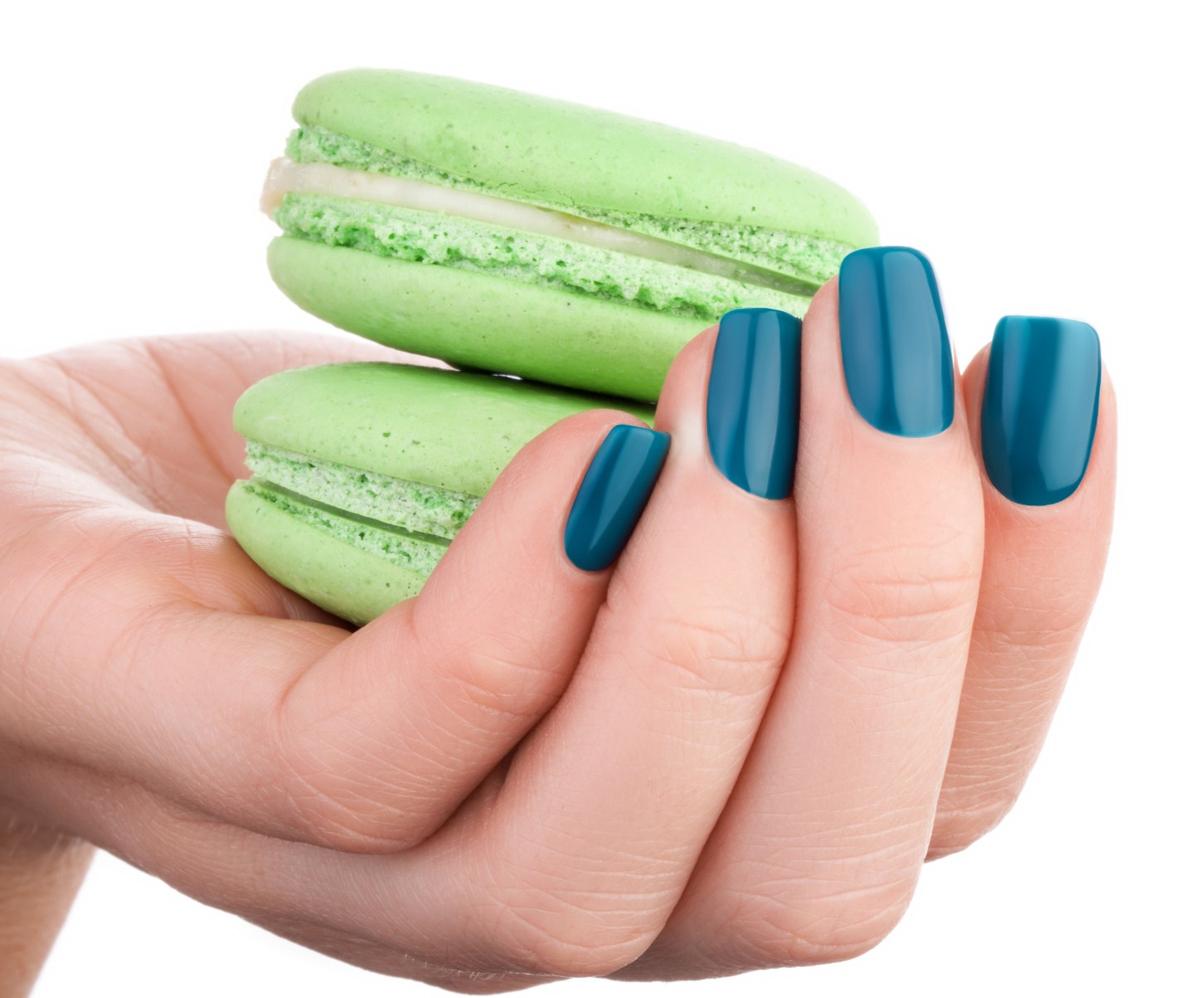
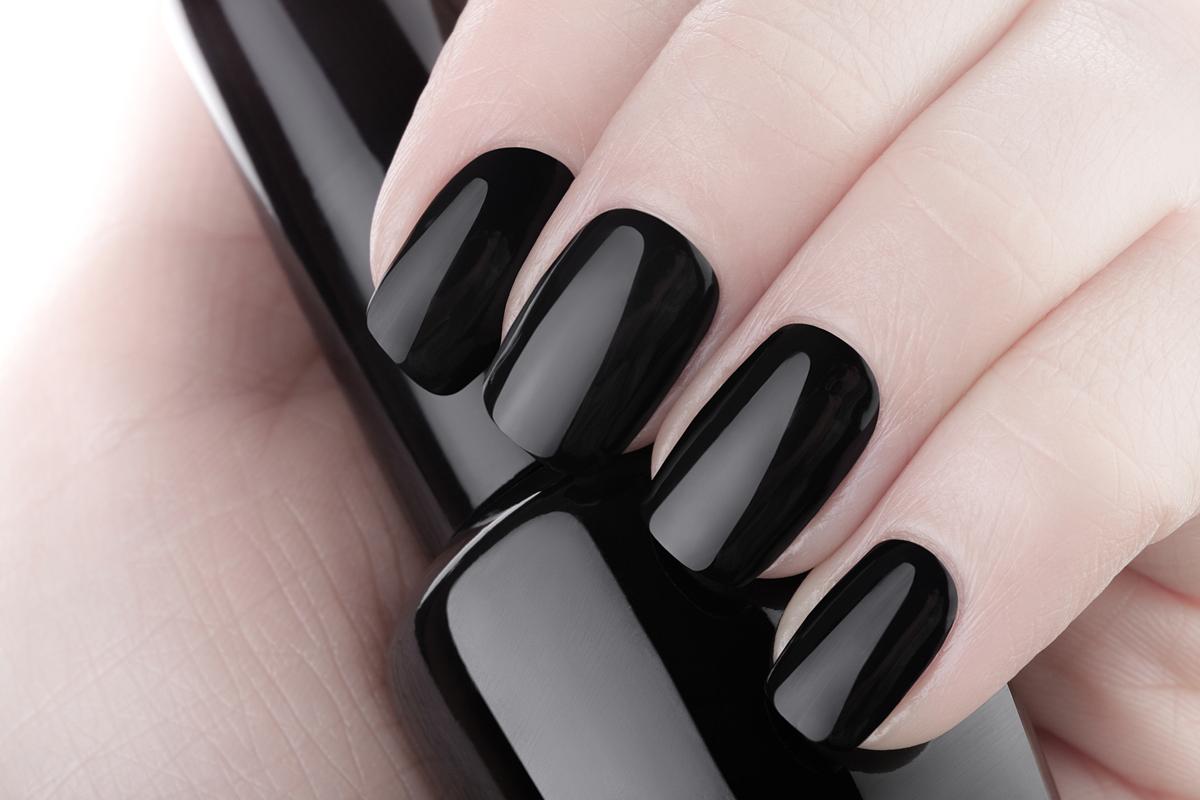
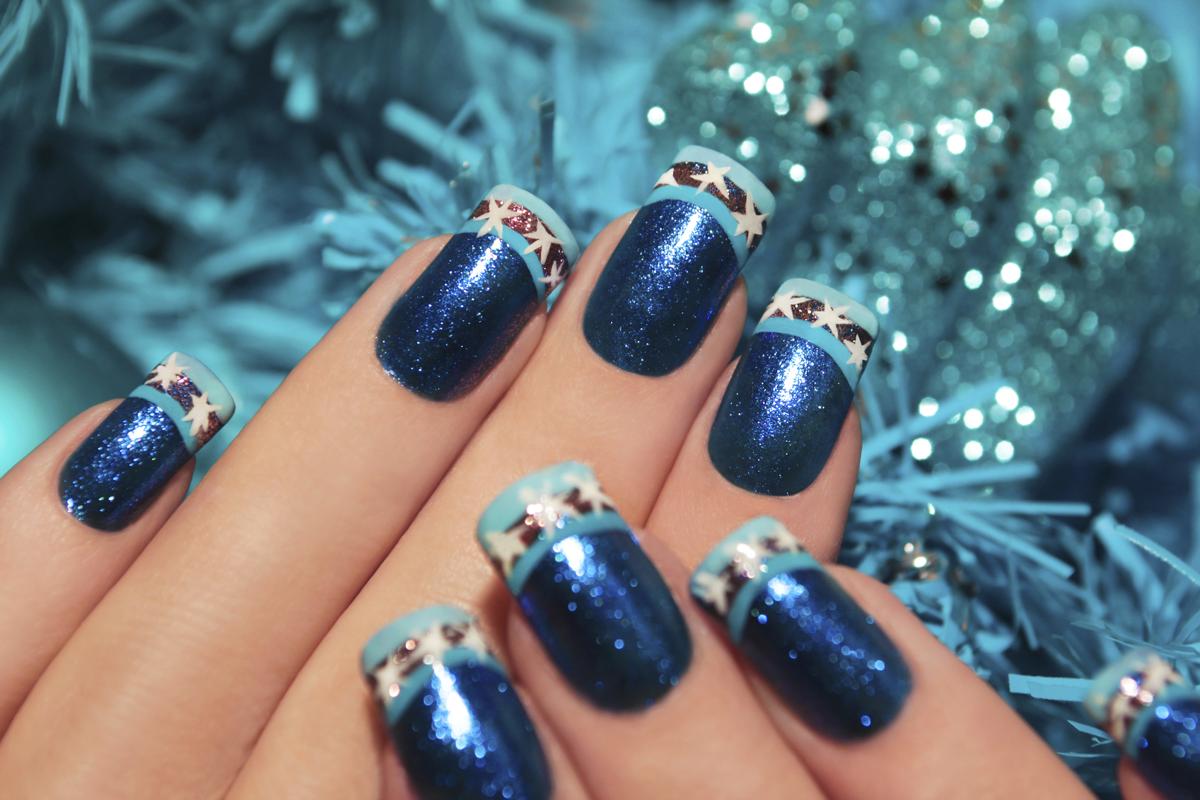
Nail Polish/Nail Art Designs: Choose a nail polish of your choice or select cool acrylic nail art designs for beautiful looking nails.
You need to maintain the acrylic nails so that they last longer and look better. For appropriate care, use nail oils and serums that help protect the artificial nails. Make sure that you do not put too much pressure on the nails. Wear protective gloves when doing household chores that can cause nail discoloration. For removing acrylic nails, you will need acetone-based nail soaks. With perfect care and an acquired skill in applying the acrylic nails, you can now enjoy perfectly manicured hands and nails at no extra cost.